Sunday, February 13, 2011

Set screen resolution from grub in Linux

We know that in Linux VGA Properties are handled by xorg.

But if we need to control the VGA resolution before the control goes over to xorg
it can be easily done from the Grub

There are different Grub VGA Modes that can be enabled from the kernel boot up line in Grub

This property can be set with vga=xxx where xxx is the value that denotes different colour depth and screen resolution.

This property is used by editing the kernel boot-up line in Grub
Edit the kernel boot up line when grub screen arrives at the startup

and at the end of the kernel boot up line just add vga=xxx. different values that can replace xxx for different purposes are listed below.

Colour depth 640x480 800x600 1024x768 1280x1024 1400x1050 1600x1200
8 (256) 769 771 773 775
15 (32K) 784 787 790 793
16 (65K) 785 788 791 794 834 884
24 (16M) 786 789 792 795

Tuesday, January 11, 2011

Linux users Resume Firefox Failed Downloads

Many a times we are downloading big size files through default download manager available in firefox. Some times due to some or other problems the download fails (mostly because of internet connection dropped). For Eg. if your are downloading from http://exampleurl.com/file.iso and suddenly internet connection dropped the download failed and we are not able to resume.

Wget comes to rescue :

wget is a commandline download manager available in Linux which can be efficiently used to continue with the downloads and successfully complete it

Step 1 :
Rename the failed download file and remove the .part extension.
Eg. Rename the file from file.iso.part to file.iso


Step 2 :
Then from the commandline move to the location where the failed downloaded file is


Step 3 :
is wget command with -c option


Example :
cd /path/to/the/failed/download/file/
wget -c http://exampleurl.com/file.iso

Enjoy and do comment on this
till then awaiting a new blog article to come

Mail Merge in Openoffice.org 3.0

Mail Merge in Openoffice.org 3.0 Writer

Scenario :
There is a spreadsheet which contains data which we want to use for mailmerge on OO Writer

Example File names :
Data file : datafile.ods (You should have this file ready when following instructions given below)
Main Template : draft.odt (This file will be created during the procedure)
Database Connection : database.odb (This file will be created during the procedure)
Finally save file or print to printer (This file will be created during the procedure)

Step 1 :
Installing Base (if not installed by default)

You need to have openoffice.org Base installed first in case of Ubuntu Linux it is not installed by default
Go to Synaptics --> Quick Search --> openoffice.org
Double click to mark for installation (if not installed)


Step 2 :
Adding Data Source
Create a new Document in Writer (Word Processor)

Go to File Menu --> Wizard --> Add Data Source

Select External Data Source --> Click Next

Select Settings
Database Type = Spreadsheet --> Click Next

Browe for your Spreadsheet file --> Click Next
I have browsed for datafile.ods

Select the correct sheet --> Click Next

Now give the name for Database file --> Click finish
I have created database.odb

Note :
This database file is a link between your original spreadsheet database and mailmerge document. So we need not do this every time for same database. which means next time if you want to create a different mail merge document based on same database you can use the currently created database file


Step 3 :
Adding Mail Merge Fields

Press Ctrl+F2 (or go to insert menu --> fields --> others)

in left pane select mail merge fields

in right pane double click on your database name (in my case database)

Then double click on sheet and finally double click on field you would need

repeat same procedure for adding other fields also


Step 4
Finalising
After you have completed inserting fields

Go to File menu --> Print --> Click on Yes when asked for printing form letter

A Dialog box with complete database details will appear

Very carefully go through different sections of dialog box

Upper Part is where you can see all database records and also select records you want to add to merge

Below on left side is where you can select no. of records or selected records

on right side is where you can select to send the output
  • directly to printer
  • or to a file
if you select file
on the next screen it will ask for saving the file

Important Note :
Some time we have to print different records on same page
Example : When we are printing Lables from mail merge database

Every thing above will be same for first Label
but when you go to next Label

Press Ctrl + F2
in the left pane select Next Record
And then select Insert button at the bottom
and finally close the dialog box

Once you have created a label with next record field you can copy the same to rest of the labels

and finally
file menu --> Print
rest is same as above

I will soon come up with next
till then
Do comment on this post
Enjoy......

Wednesday, December 16, 2009

Google Gujarati Support

Storing transliteration bookmarklet on Firefox

Note: Transliteration bookmarklet is supported on Firefox version 3 and above. If you come across font issues, see this Wikipedia article for possible solutions.

Perform the following steps:
  1. Right-click this link: [અ Type in Gujarati].

  2. Click on "Bookmark This Link".

    Adding bookmarklet to Firefox toolbar

  3. Choose "Bookmarks Toolbar" in the "Folder" option.

    Choosing Bookmarks toolbar in Firefox

  4. Click "Done".

After following the above steps, a bookmark with name [અ Type in Gujarati] should appear in the Firefox Bookmark toolbar as follows:

Firefox Bookmarks toolbar


If you do not see the the bookmark, follow this additional step:

Make sure that the Bookmarks toolbar is enabled. Right-click on the empty space next to "Help" menu and click on the "Bookmarks Toolbar" option:

Ensuring Bookmarks toolbar is visible in Firefox


Done! You can now go to Using the transliteration bookmarklet section for details on how to use the bookmarklet.

Friday, November 13, 2009

Install Openoffice 3.1 in Ubuntu 8.10

Hi friends,
lets straightaway get started with the steps involved in installing the newly arrived openoffice 3.1 in Ubuntu 8.04 / 8.10 / 9.04 / 9.10

First Step : is to remove the existing openoffice if you have it.

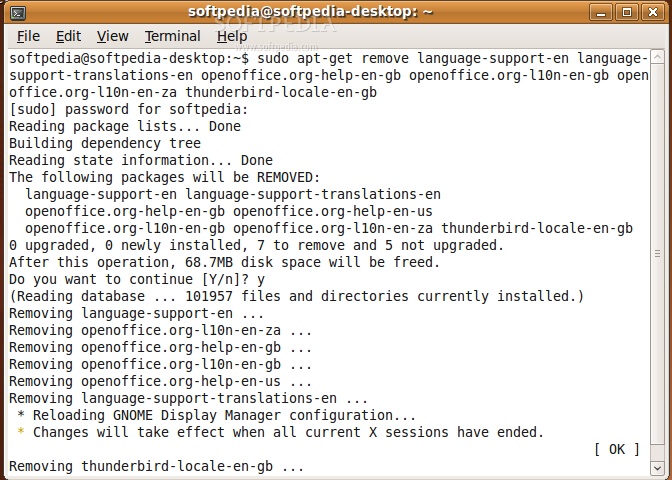
Remove your existing OpenOffice installation by using the following two commands:

sudo apt-get remove --purge openoffice.org
sudo apt-get autoremove --purge


Add the OpenOffice.org 3.1 repositories

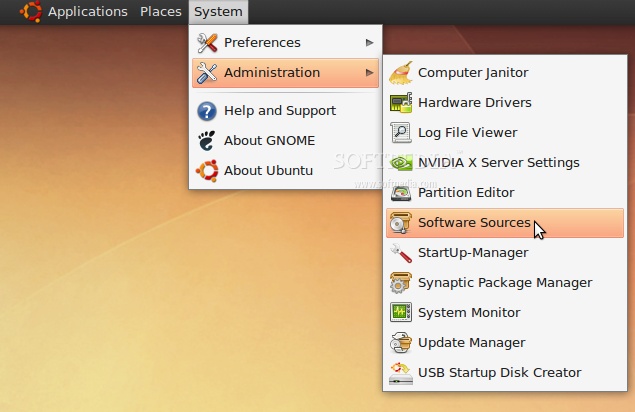
Go to System -> Administration -> Software Sources...

Review image


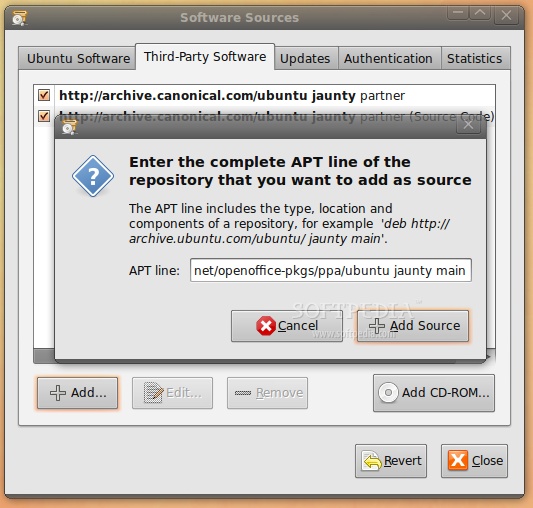
Enter your password. Go to the second tab, "Third-Party Software," click on the "Add" button, and paste the line below for your Ubuntu distribution...

For Ubuntu 8.04

deb http://ppa.launchpad.net/openoffice-pkgs/ppa/ubuntu hardy main

For Ubuntu 8.10

deb http://ppa.launchpad.net/openoffice-pkgs/ppa/ubuntu intrepid main

For Ubuntu 9.04

deb http://ppa.launchpad.net/openoffice-pkgs/ppa/ubuntu jaunty main

For Ubuntu 9.10

deb http://ppa.launchpad.net/openoffice-pkgs/ppa/ubuntu karmic koala main

Review image


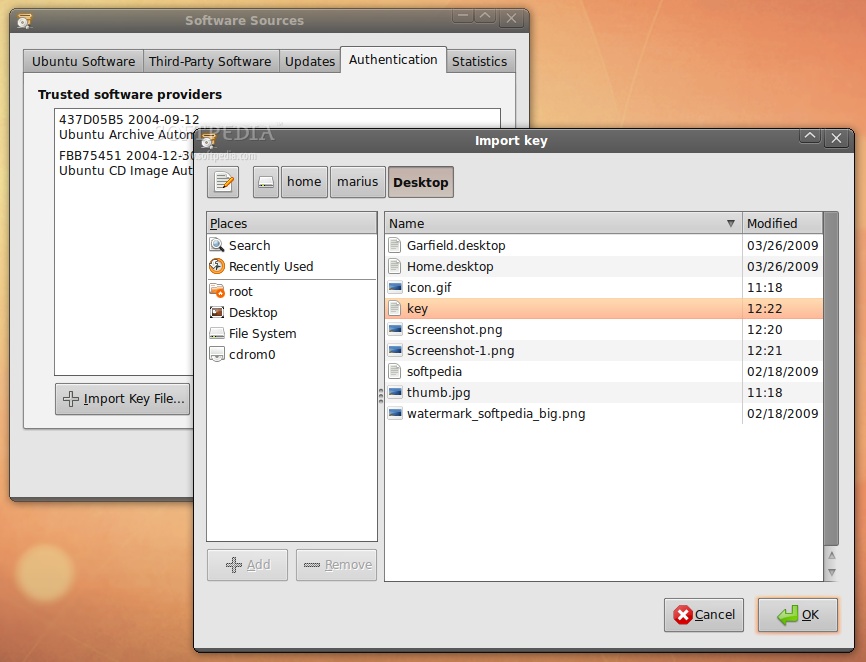
· Right click HERE and choose the "Save Link As..." option to save the key file on your desktop.

· Go to the fourth tab, "Authentication," click the "Import Key File" button, navigate to the location where you've just saved the key file (usually, it is File System/home/YOURUSERNAME/Desktop) and double click it. You will immediately see a new entry called "247D1CFF 2009-01-21 Launchpad PPA for OpenOffice.org Scribblers."

Review image


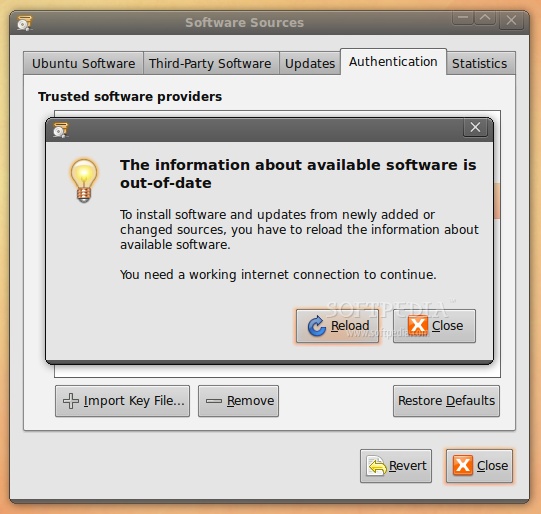
Now, click the “Close” button, then the “Reload” one and wait for the application to close!

Review image


STEP 2 - Install OpenOffice.org 3.1

At this moment, you don't have any OpenOffice.org suite installed in your system. Therefore, go to Applications -> Add/Remove...

Review image


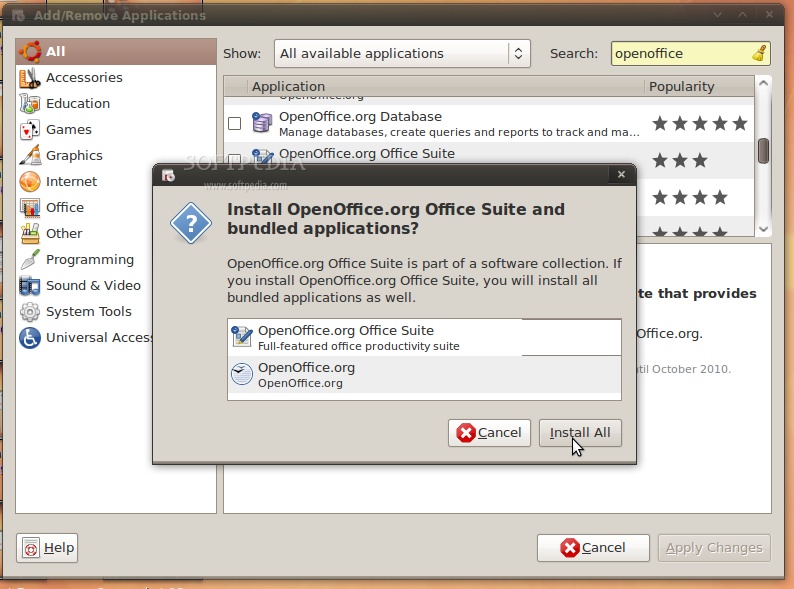
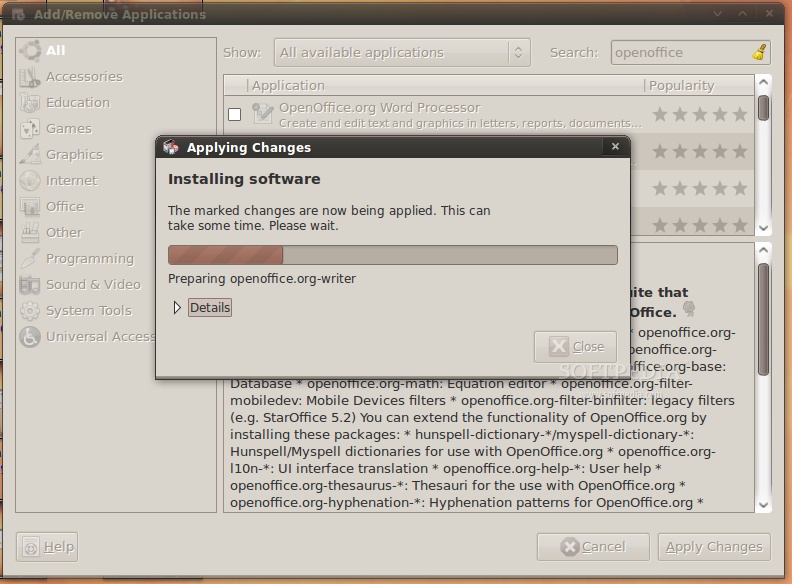
Select the "All availalbe applications" option from the "Show" drop-down menu and search for openoffice in the "Search" box. The OpenOffice.org Suite will be found... scroll down until you see it and click on the check box in front of it. Click the "Install All" button when asked if you want to install the OpenOffice.org Suite and bundled applications...

Review image


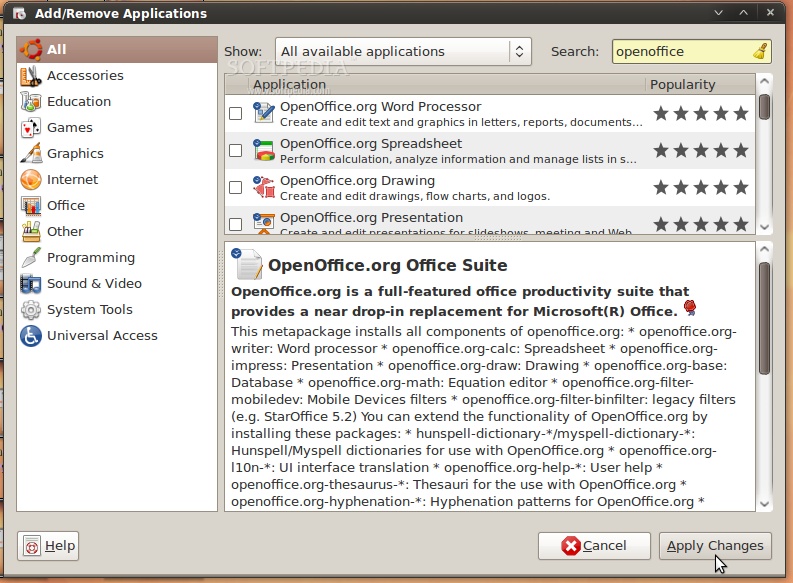
Now, click the "Apply Changes" button...

Review image


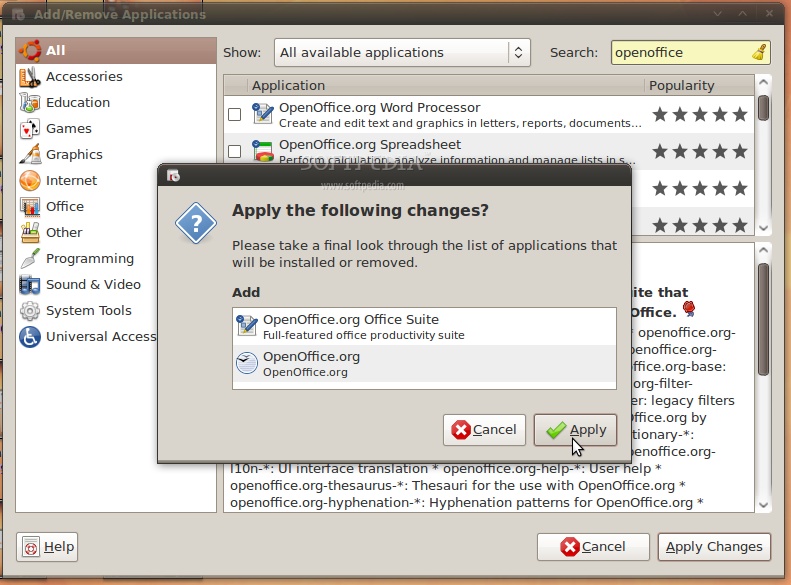
Then the "Apply" button...

Review image


Wait for the installer to install the new OpenOffice.org packages....

Review image


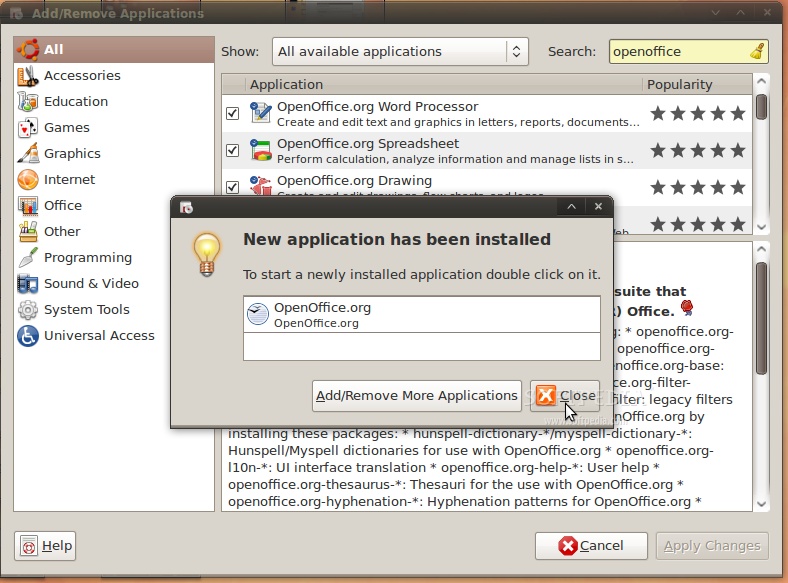
When the installation process is over, you will be notified. Click the "Close" button to close the Add/Remove software...

Review image


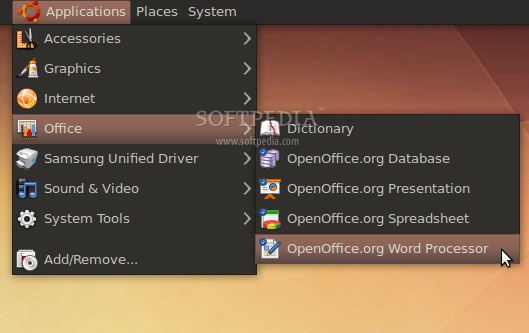
That's all, folks! Go to Applications -> Office and you can use your brand new OpenOffice.org 3.1 office suite.

Review image


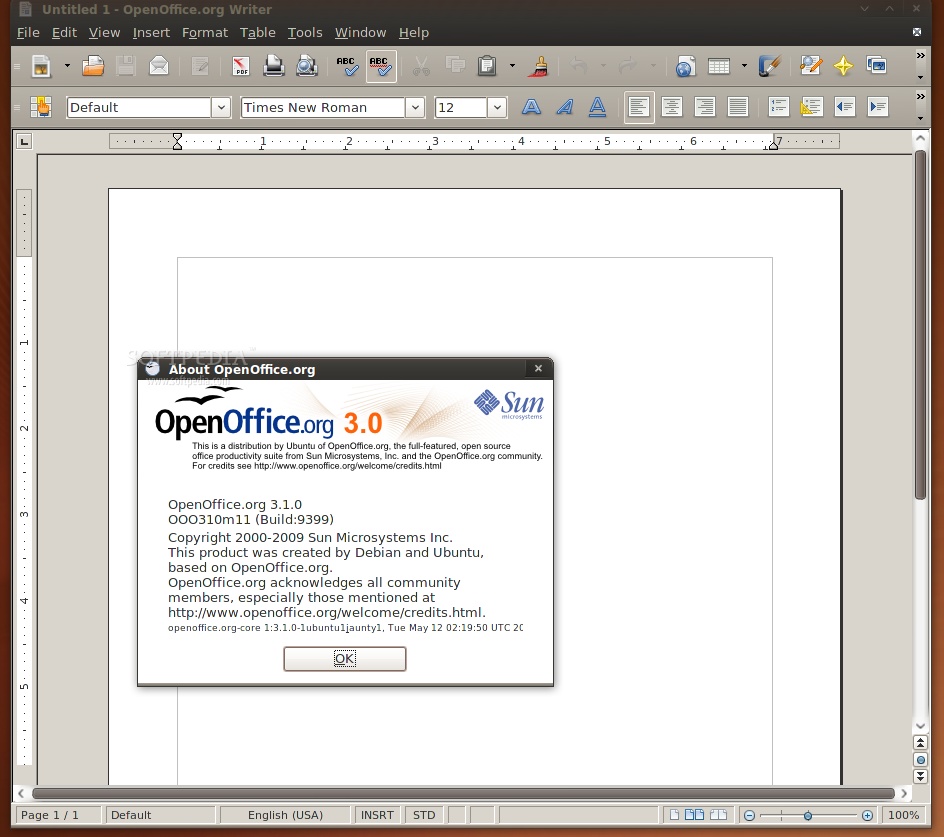
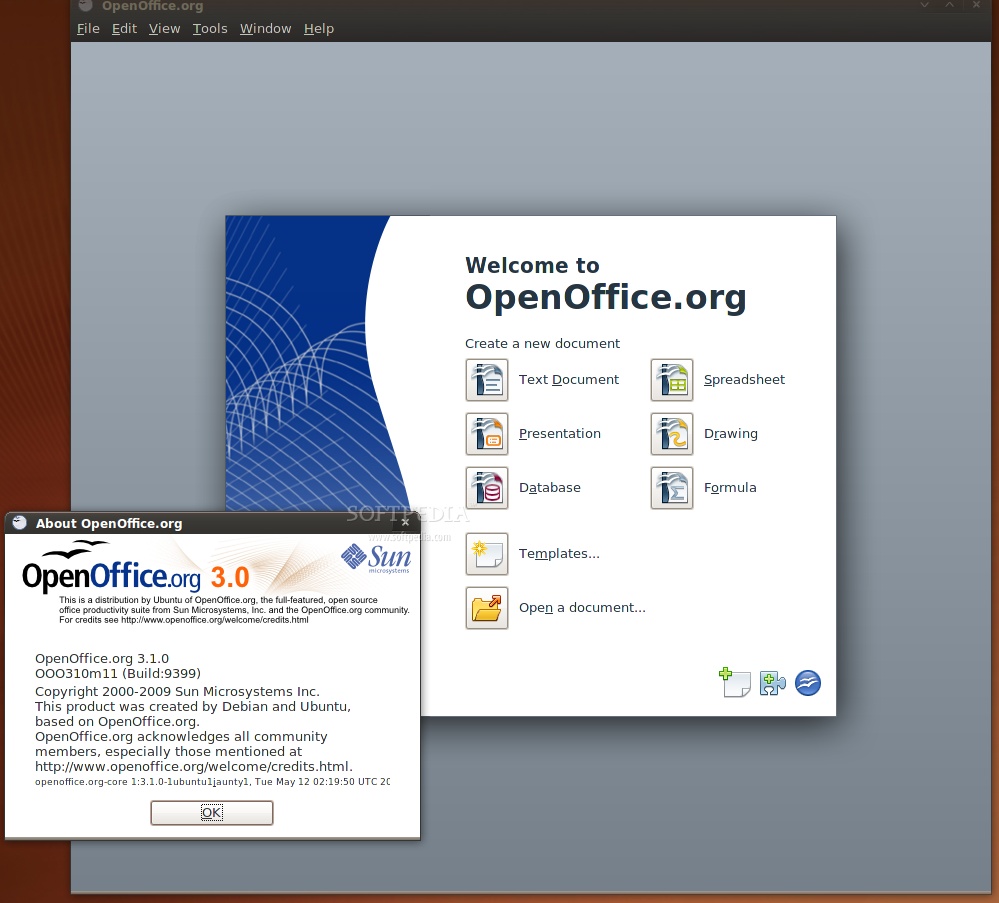
And the best part is that your open source office suite will be up-to-date from now on. Take a look below at some shots of OpenOffice.org 3.1 in Ubuntu 9.04 (Jaunty Jackalope).

Review image


Review image


Credits: Special thanks go to Chris Cheney and the "OpenOffice.org Scribblers" team for creating the PPA for Ubuntu.

Tuesday, September 22, 2009

Enable Gujarati Phonetic in Openoffice Ubuntu 8.10

As we know both Ubuntu and Openoffice have a good support for different Indian Languages like Gujarati, Hindi, Tamil, etc.

But it has always been a question on how to enable the phonetic support with SCIM (smart common input method)

Below are the steps for enabling the support for phonetic / inscript keyboard support in openoffice 2.4 on ubuntu 8.10

Step 1 : Install the language support
go to System --> Administrator --> Language Support
(from the list select gujarati or any language you want support for)
click on the apply button below (This will install the required packages)

Step 2 : Starting Input method services for Gujarati, etc languages
go to System --> Preferences --> SCIM Input method setup
select Global Setup under IMEngine in the left pane
in the right pane select the required language
(You can disable unwanted languages)

Step 3 : Enabling scim for all text editors and openoffice documents
Edit /etc/profile and paste the following code at the end of file

# SCIM
export XMODIFIERS='@im=SCIM'
export GTK_IM_MODULE="scim"
export XIM_PROGRAM="scim -d"
export QT_IM_MODULE="scim"
scim -d

Restart the system

Step 4 : Start typing in Gujarati, etc language
Start Openoffice writer
find a small keyboard icon in notification area (generally top pannel)
click with left button on it and select the appropriate language

Start typing in the page area and enjoy....

Wednesday, September 2, 2009

Gujarat Board - Introduction to Computers

Dear Computer Teachers,
As we know there are two lessons based on scripting in Standard 12th Gujarat board. below you can find links for solved lab exercises for your reference to effectively guide your students for same.

how to download :
Select the below link copy and paste it in to addressbar of your web browser open the page to download the respective script

Linux & Open Source - Standard XII - Solutions for Lab Exercise Chapter 13 & 14
Lesson No. 13 [Problem - 1]
http://rapidshare.com/files/274582939/script1.sh.html
Lesson No. 13 [Problem - 2]