Showing posts with label openoffice. Show all posts

Friday, November 13, 2009

Install Openoffice 3.1 in Ubuntu 8.10

Hi friends,
lets straightaway get started with the steps involved in installing the newly arrived openoffice 3.1 in Ubuntu 8.04 / 8.10 / 9.04 / 9.10

First Step : is to remove the existing openoffice if you have it.

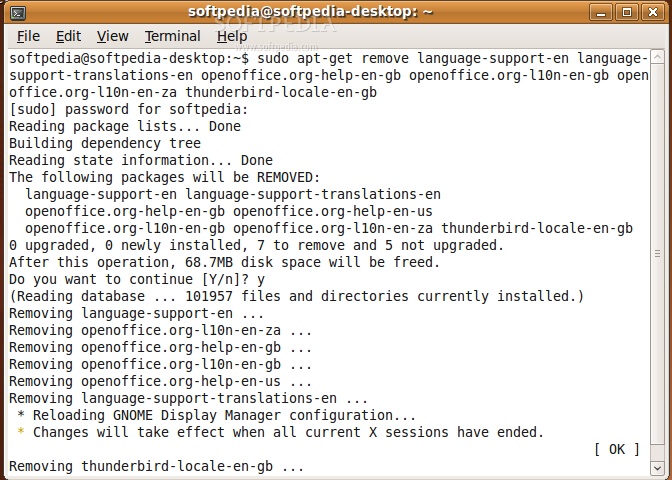
Remove your existing OpenOffice installation by using the following two commands:

sudo apt-get remove --purge openoffice.org
sudo apt-get autoremove --purge


Add the OpenOffice.org 3.1 repositories

Go to System -> Administration -> Software Sources...
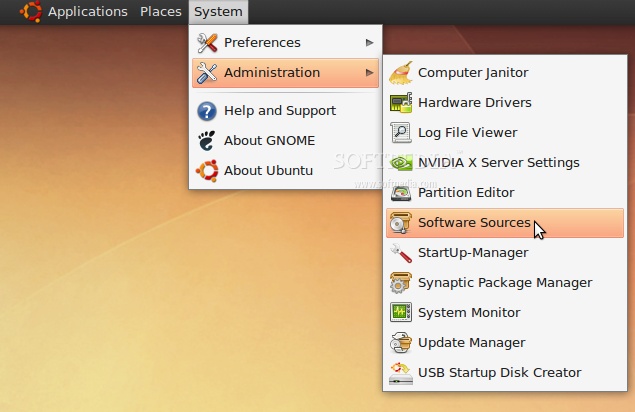
Review image


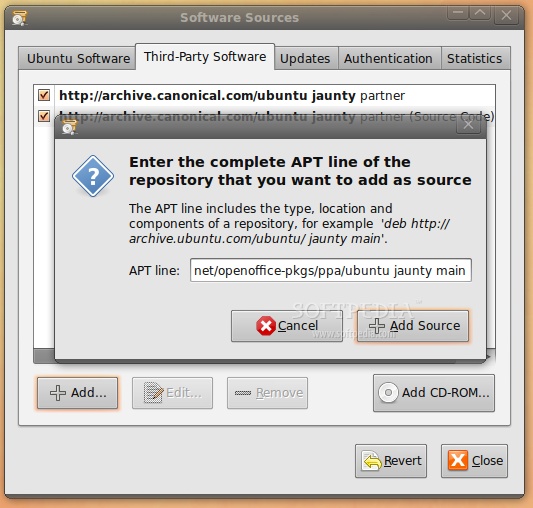
Enter your password. Go to the second tab, "Third-Party Software," click on the "Add" button, and paste the line below for your Ubuntu distribution...

For Ubuntu 8.04

deb http://ppa.launchpad.net/openoffice-pkgs/ppa/ubuntu hardy main

For Ubuntu 8.10

deb http://ppa.launchpad.net/openoffice-pkgs/ppa/ubuntu intrepid main

For Ubuntu 9.04

deb http://ppa.launchpad.net/openoffice-pkgs/ppa/ubuntu jaunty main

For Ubuntu 9.10

deb http://ppa.launchpad.net/openoffice-pkgs/ppa/ubuntu karmic koala main
Review image


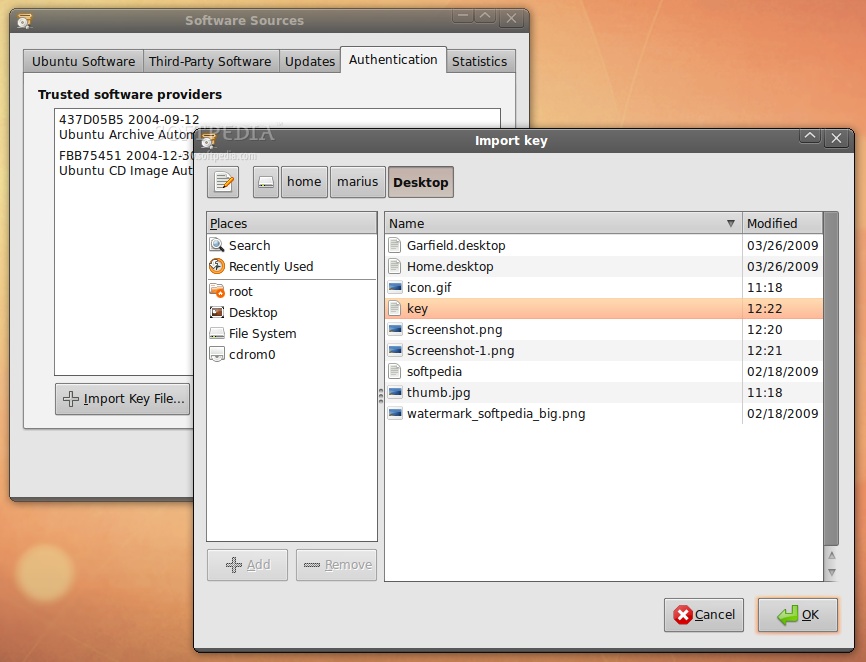
· Right click HERE and choose the "Save Link As..." option to save the key file on your desktop.

· Go to the fourth tab, "Authentication," click the "Import Key File" button, navigate to the location where you've just saved the key file (usually, it is File System/home/YOURUSERNAME/Desktop) and double click it. You will immediately see a new entry called "247D1CFF 2009-01-21 Launchpad PPA for OpenOffice.org Scribblers."
Review image


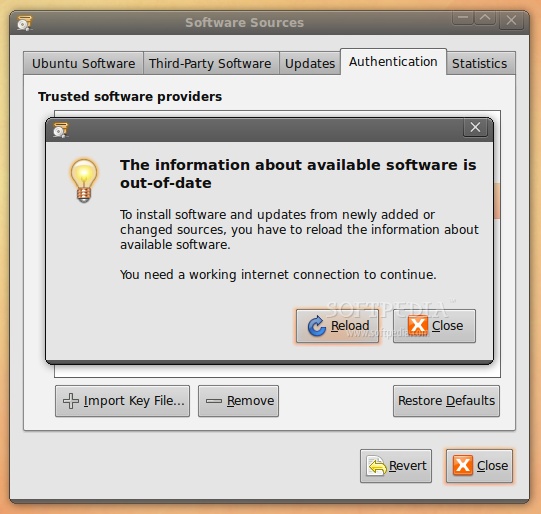
Now, click the “Close” button, then the “Reload” one and wait for the application to close!
Review image


STEP 2 - Install OpenOffice.org 3.1

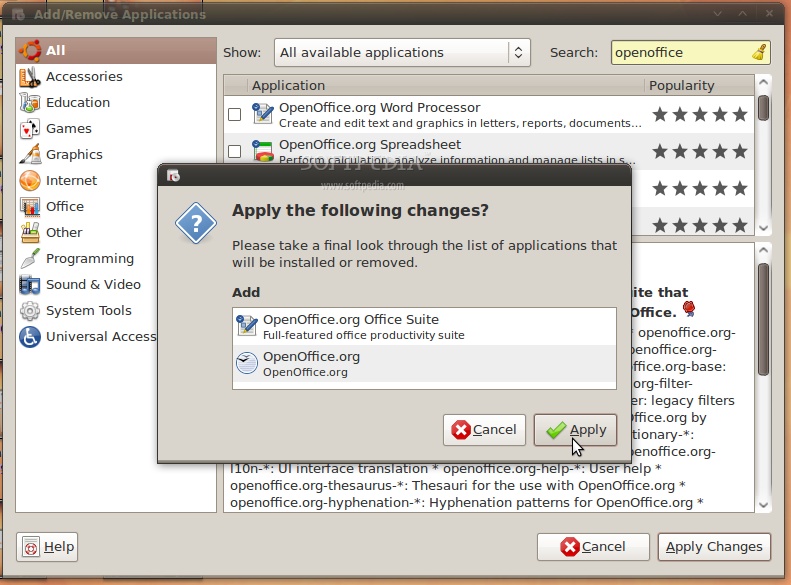
At this moment, you don't have any OpenOffice.org suite installed in your system. Therefore, go to Applications -> Add/Remove...
Review image


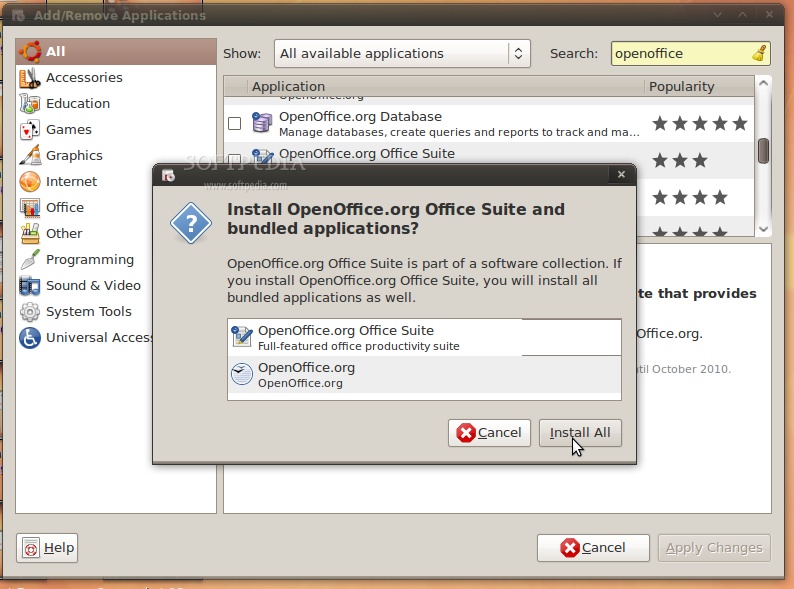
Select the "All availalbe applications" option from the "Show" drop-down menu and search for openoffice in the "Search" box. The OpenOffice.org Suite will be found... scroll down until you see it and click on the check box in front of it. Click the "Install All" button when asked if you want to install the OpenOffice.org Suite and bundled applications...
Review image


Now, click the "Apply Changes" button...
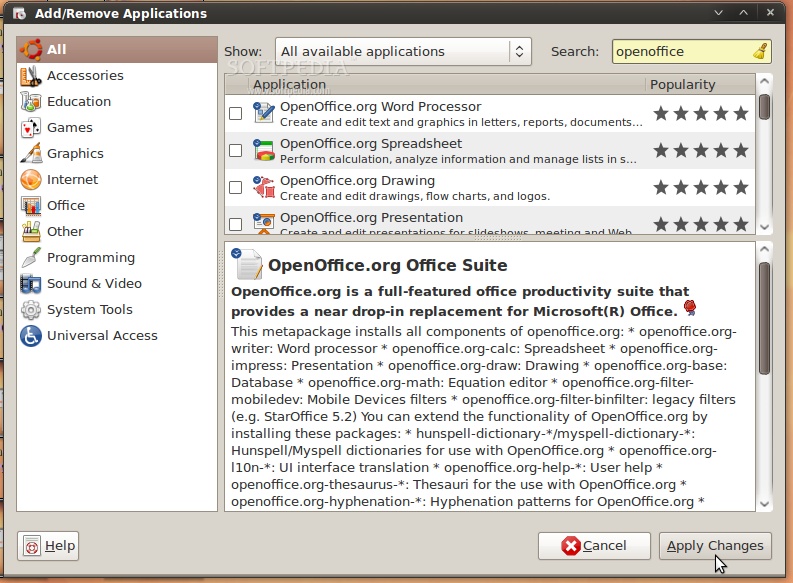
Review image


Then the "Apply" button...

Review image


Wait for the installer to install the new OpenOffice.org packages....
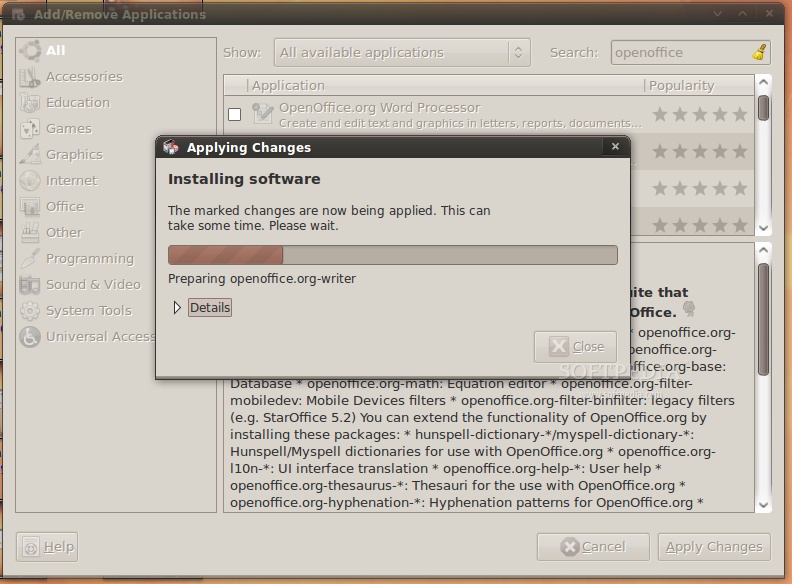
Review image


When the installation process is over, you will be notified. Click the "Close" button to close the Add/Remove software...
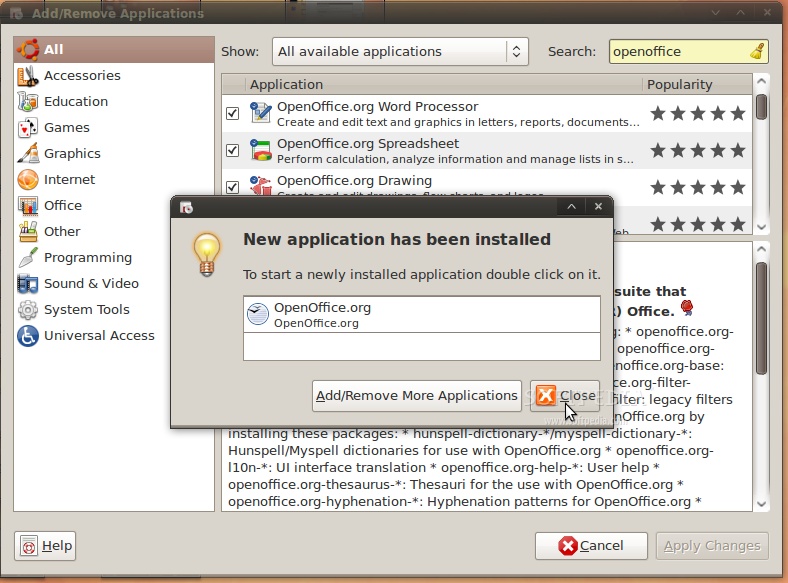
Review image


That's all, folks! Go to Applications -> Office and you can use your brand new OpenOffice.org 3.1 office suite.
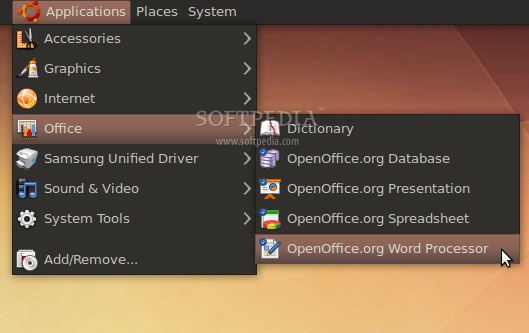
Review image


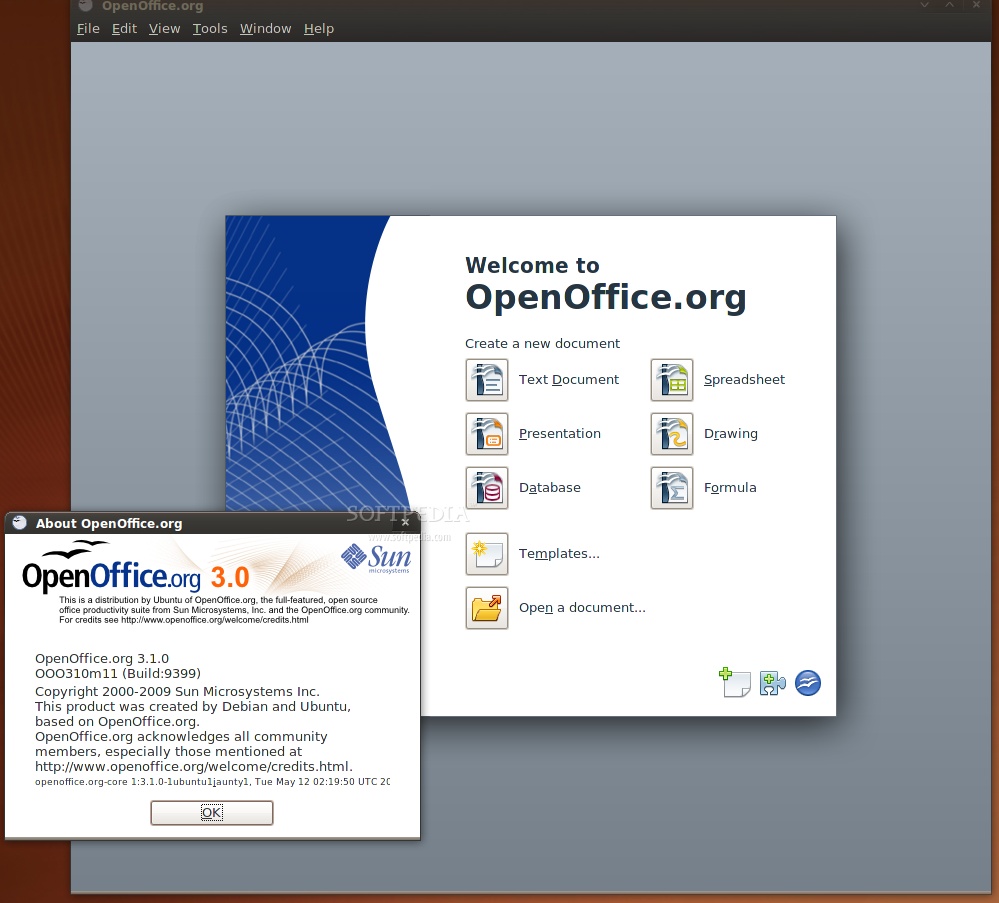
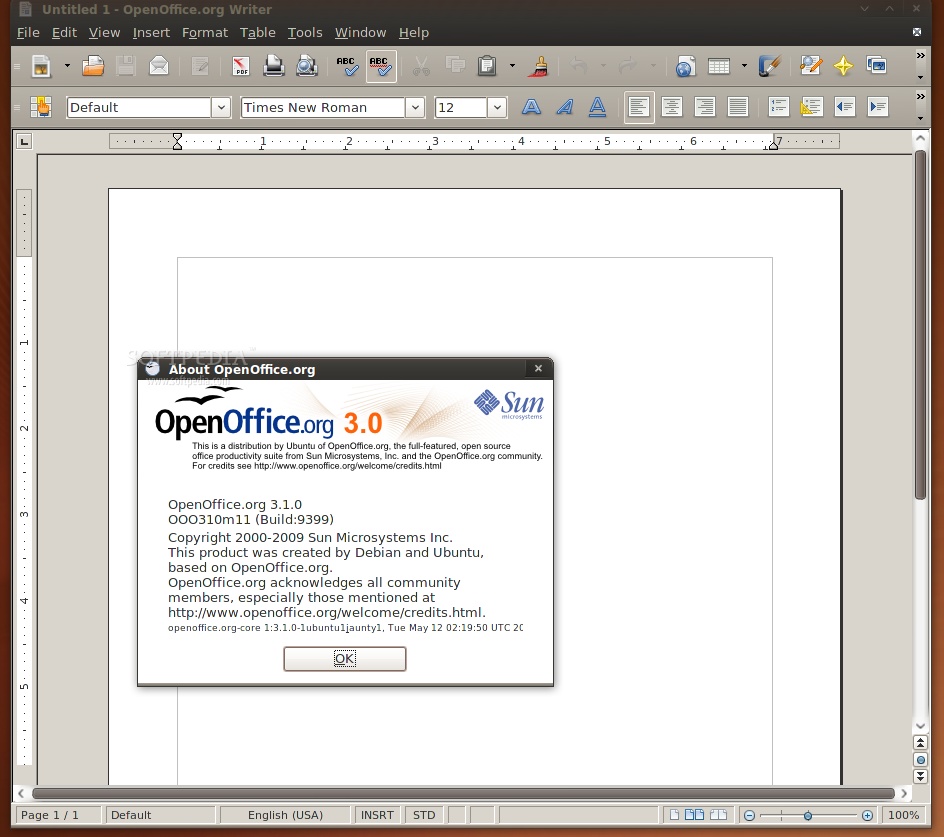
And the best part is that your open source office suite will be up-to-date from now on. Take a look below at some shots of OpenOffice.org 3.1 in Ubuntu 9.04 (Jaunty Jackalope).
Review image


Review image


Credits: Special thanks go to Chris Cheney and the "OpenOffice.org Scribblers" team for creating the PPA for Ubuntu.

Tuesday, September 22, 2009

Enable Gujarati Phonetic in Openoffice Ubuntu 8.10

As we know both Ubuntu and Openoffice have a good support for different Indian Languages like Gujarati, Hindi, Tamil, etc.

But it has always been a question on how to enable the phonetic support with SCIM (smart common input method)

Below are the steps for enabling the support for phonetic / inscript keyboard support in openoffice 2.4 on ubuntu 8.10

Step 1 : Install the language support
go to System --> Administrator --> Language Support
(from the list select gujarati or any language you want support for)
click on the apply button below (This will install the required packages)

Step 2 : Starting Input method services for Gujarati, etc languages
go to System --> Preferences --> SCIM Input method setup
select Global Setup under IMEngine in the left pane
in the right pane select the required language
(You can disable unwanted languages)

Step 3 : Enabling scim for all text editors and openoffice documents
Edit /etc/profile and paste the following code at the end of file

# SCIM
export XMODIFIERS='@im=SCIM'
export GTK_IM_MODULE="scim"
export XIM_PROGRAM="scim -d"
export QT_IM_MODULE="scim"
scim -d

Restart the system

Step 4 : Start typing in Gujarati, etc language
Start Openoffice writer
find a small keyboard icon in notification area (generally top pannel)
click with left button on it and select the appropriate language

Start typing in the page area and enjoy....

Monday, August 3, 2009

How to add Cliparts to your Open Office Applications

Download the Clipart Set from following location

http://openclipart.org/downloads/0.19/openclipart-0.19.zip

if zip unarchive utility is not available download below linked set

http://openclipart.org/downloads/0.19/openclipart-0.19.tar.gz

After Downloading unarchive the downloaded archive file in your desired folder

Open your open office application go to - tools | Gallery

Select New theme

on General Tab Page give a name for your new gallery

click on Files tab page

Click on find files

go to the path where clipart archive was extracted

Note : select complete folder on the path as file names are greyed

Click on OK button below

now you can see a list of all the files available on the selected path

Select the check box for preview of files on the right side in case you want only selected files

make selections for the files you want to be added and click on Add
Note : you can use shift and ctrl keys as we do for normal multi selection of objects

OR

Click on Add All to select all files for your new gallery

Click on OK button to see the new gallery added to the list available below the New Theme button in the Gallery

Note : You can select Tools | Gallery again to close the gallery
Note : Gallery button is also available on standard tool bar just find it to make your work more easy for putting the gallery on and off

Enjoy